Claude edited this.

Every workflow from the video, with the exact styling. Copy the prompts straight into Claude Code.
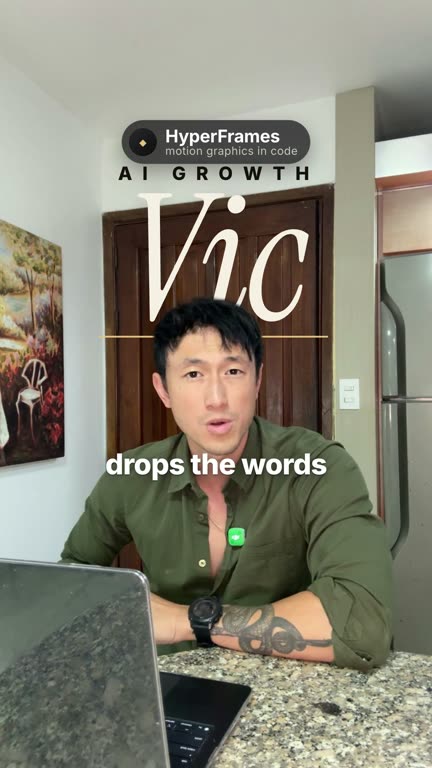
Vic in the reel, with his name set behind his head
  • Claude Codewrites and runs everything
  • HyperFramesnpx hyperframes init my-video
  • FFmpegbrew install ffmpeg
  • yt-dlpbrew install yt-dlp
  • Whisperinside HyperFrames: npx hyperframes transcribe

Hey, it’s Vic. Here’s everything from the video, in the order it appears. All the tools are free.
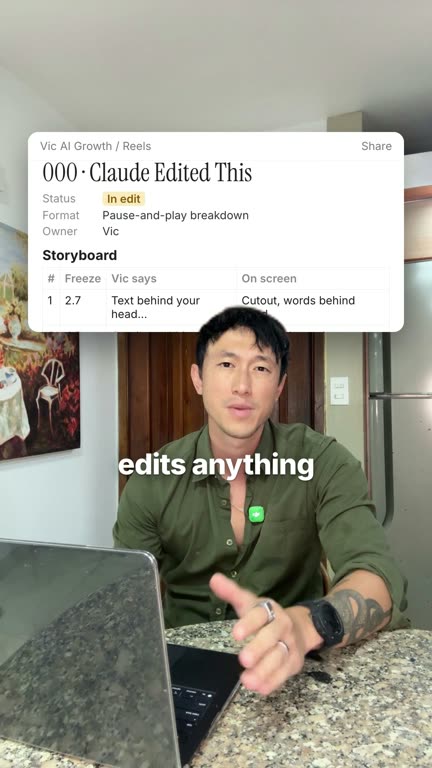
  1. Step 0

    The storyboard (do this first)

    Before Claude touches the footage, make it plan the video:

    Before you edit anything, write this video as a storyboard table with these columns: # | time | what I say | what’s on screen | which tool makes it. Don’t touch the footage until I approve it.

    Fix the plan, then say “build it.” Most bad AI edits come from skipping this step.
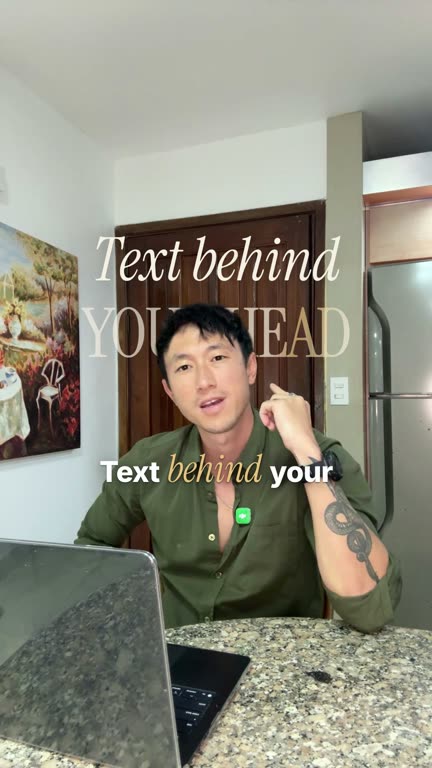
  2. Step 1

    Text behind your head

    Cut me out of the background with `npx hyperframes remove-background`. Put "Text behind" in Instrument Serif Italic, 150 px, and "YOUR HEAD" in Instrument Serif, 176 px, cream (#F6EFE3), at y 575–860, behind me, so my head covers the bottom of the letters. Fade it in over 0.4 s.

    The checkerboard moment: for one second, hide the background so only the cutout shows over a transparency checkerboard, then fade it back. It shows people the cutout is real.
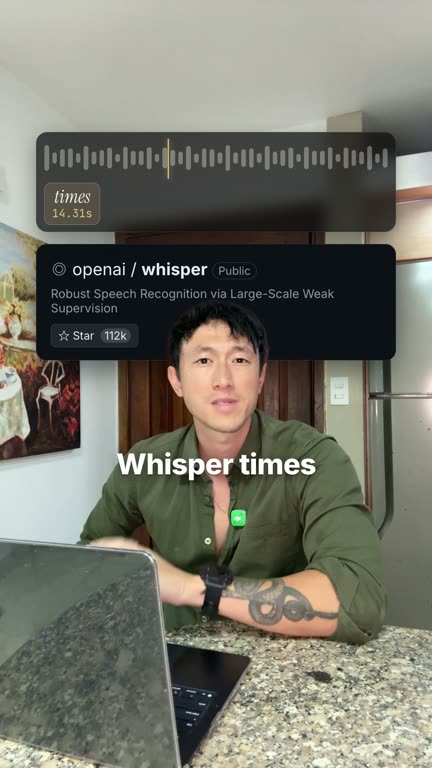
  3. Step 2

    Captions that land on every word

    Transcribe my video with `npx hyperframes transcribe source.mp4 --model small.en`. Use the word timings for captions: 2–3 words at a time, Inter ExtraBold, white, 72 px, at y 1120; each word fades up as it’s spoken, and key words switch to Instrument Serif Italic in gold (#E8C27A), shadow 0 2px 8px rgba(0,0,0,.6), no box.

    The same word timings drive the logo labels and GitHub cards, so each one pops in on the exact word. Plain text with a shadow looks cleaner than captions in a coloured box.
  4. Step 3

    UI drawn as vector graphics

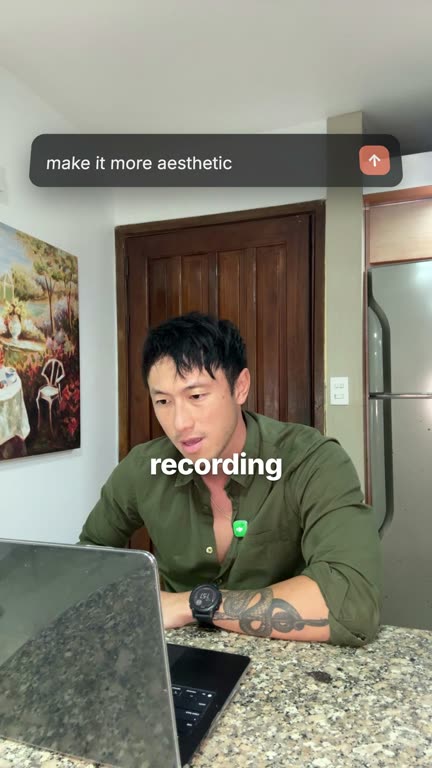
    Draw a chat prompt bar as vector graphics in HTML: dark (#1C1C1E at 85%), 18 px corners, at 20% height. It types "make it more aesthetic" letter by letter with a blinking cursor, then the orange (#D97757) send arrow pulses.

    No screenshots, no images: it’s all code, so it stays sharp at any size.
  5. Step 4

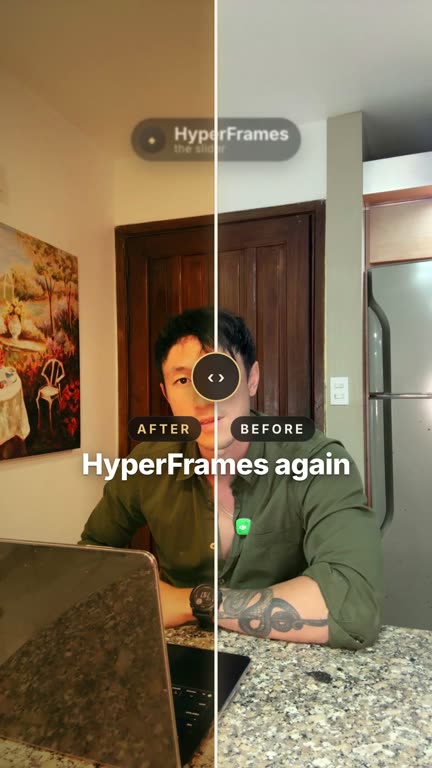
    Golden-hour look with a slider reveal

    The colour, with FFmpeg:

    $ ffmpeg -i in.mp4 -vf "colortemperature=temperature=3600:mix=0.9,colorbalance=rm=0.06:bm=-0.04:rh=0.06,curves=all='0/0.02 0.25/0.21 0.75/0.81 1/0.97',eq=saturation=1.15,vignette=angle=PI/6" -c:a copy warm.mp4
    Stack warm.mp4 over in.mp4 and reveal it with a white vertical slider line (round "‹›" handle) that sweeps left to right in 0.8 s.

  6. Step 5

    Zooms: the prompt, and what I used instead

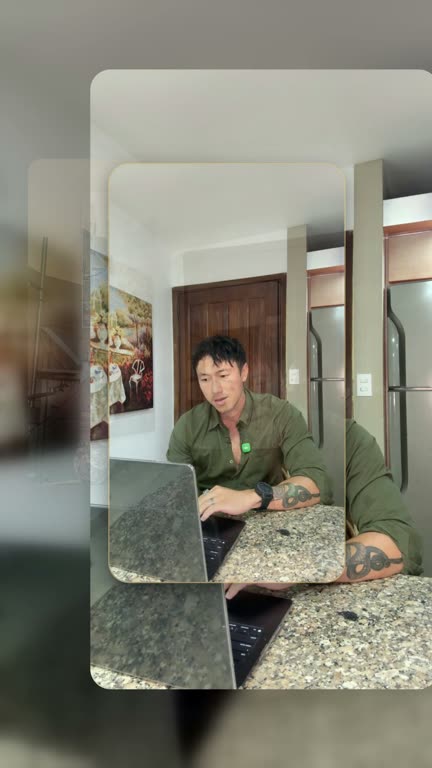
    The recursive zoom (it’s a lot):

    On the word "this", shrink the shot into a picture of itself, 3 levels deep, then push through it with a spin and blur.

    On the word "this", whip pan: slide the shot fully sideways in 0.25 s with heavy horizontal motion blur, and bring the next clip in from the other side.

    The second one is what I’d actually use. Cleaner.
  7. Step 6

    The moody grade

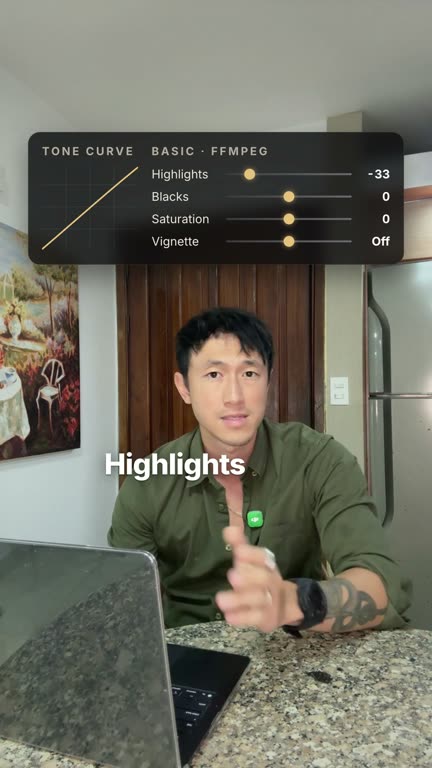
    Highlights down 35, blacks up 12 (on 0–255), saturation down 15%, then a soft vignette:

    $ ffmpeg -i in.mp4 -vf "curves=all='0/0.047 0.5/0.48 1/0.863',eq=saturation=0.85,vignette=angle=PI/5" -c:a copy moody.mp4
    Add a dark grade panel at the top with a tone curve and sliders for Highlights −35, Blacks +12, Saturation −15 and Vignette. The numbers tick as I say them while the footage darkens.

  8. Step 7

    Your reels circling behind you, then a 3×3 wall

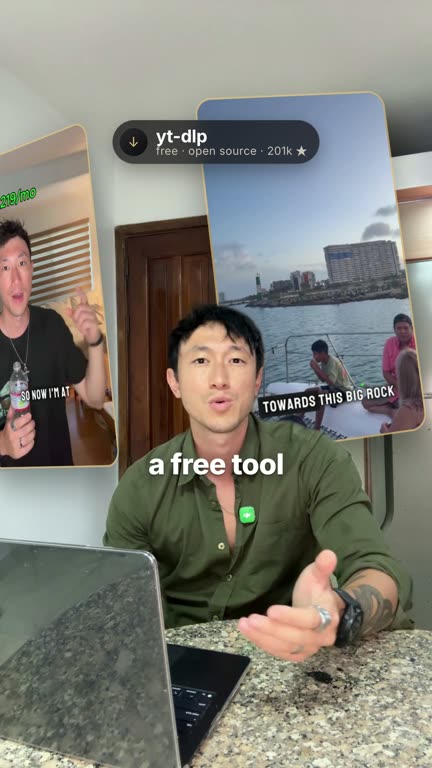
    Grab your reels with yt-dlp (free; works for videos you have the rights to use, like your own):

    $ yt-dlp -o "reels/%(id)s.%(ext)s" <reel link>

    Put 8 of these reels on a 3D ring behind me, each card 320 × 569 with a thin gold edge, playing muted. Spin the ring slowly the whole time I talk, with my cutout in front so the reels pass behind my head.

    Shrink my shot into the centre tile of a 3×3 grid, then pop 8 of these reels in around it, one per frame.

  9. Step 8

    Bonus: the magazine cover

    Make this a magazine cover: CLAUDE masthead behind my head in Bodoni Moda, cream (#F2EBDD), as wide as the frame. Add a thin cream frame 4% in from the edges, an issue strip at 16% height ("NO. 00 · NOVEMBER 2026 · EDITED BY CLAUDE"), and a barcode on the left at 65% height.

  10. Step 9

    Bonus: real screenshots beat mockups

    $ npx hyperframes preview

    Claude can draw a fake editing timeline, but a real one looks better. Open your project in the preview and screenshot its timeline.

The exact styling

Rule #1: every word stays inside x 60–960, y 285–1330 (of 1080×1920). Instagram’s home feed crops reels to 4:5, so anything outside gets cut off.

CaptionsInter ExtraBold + Instrument Serif Italic for key words#FFFFFF · #E8C27A · 72 / 96 px, y 1120, 2–3 words
Text behind headInstrument Serif (+ Italic)#F6EFE3 · y 450–860
Magazine mastheadBodoni Moda#F2EBDD · frame width
Prompt barInter#1C1C1E · #D97757 · y 330, 30 px corners
Grade panelInter#111111 · from y 320
GitHub cardsInter#0D1117 · behind head

Want your reels made like this every day?

I’m letting this system grow my account from 3K to 100K in 90 days. Follow @vic.aigrowth to watch it happen, or join early access to run it on yours.

I’m joining as